How to estimate my project ?

HOW TO USE THE CALCULATOR?

Draw the plan
Start by drawing the plan of your future terrace. For this you have two options:


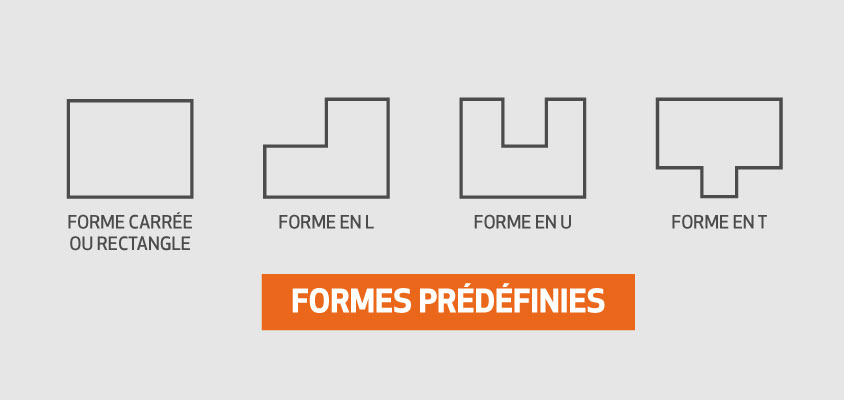

CUSTOM SHAPE
Select the cursor and move it to create a line of the desired length, repeat the operation to obtain the desired terrace. Complex shapes are not available at this time.
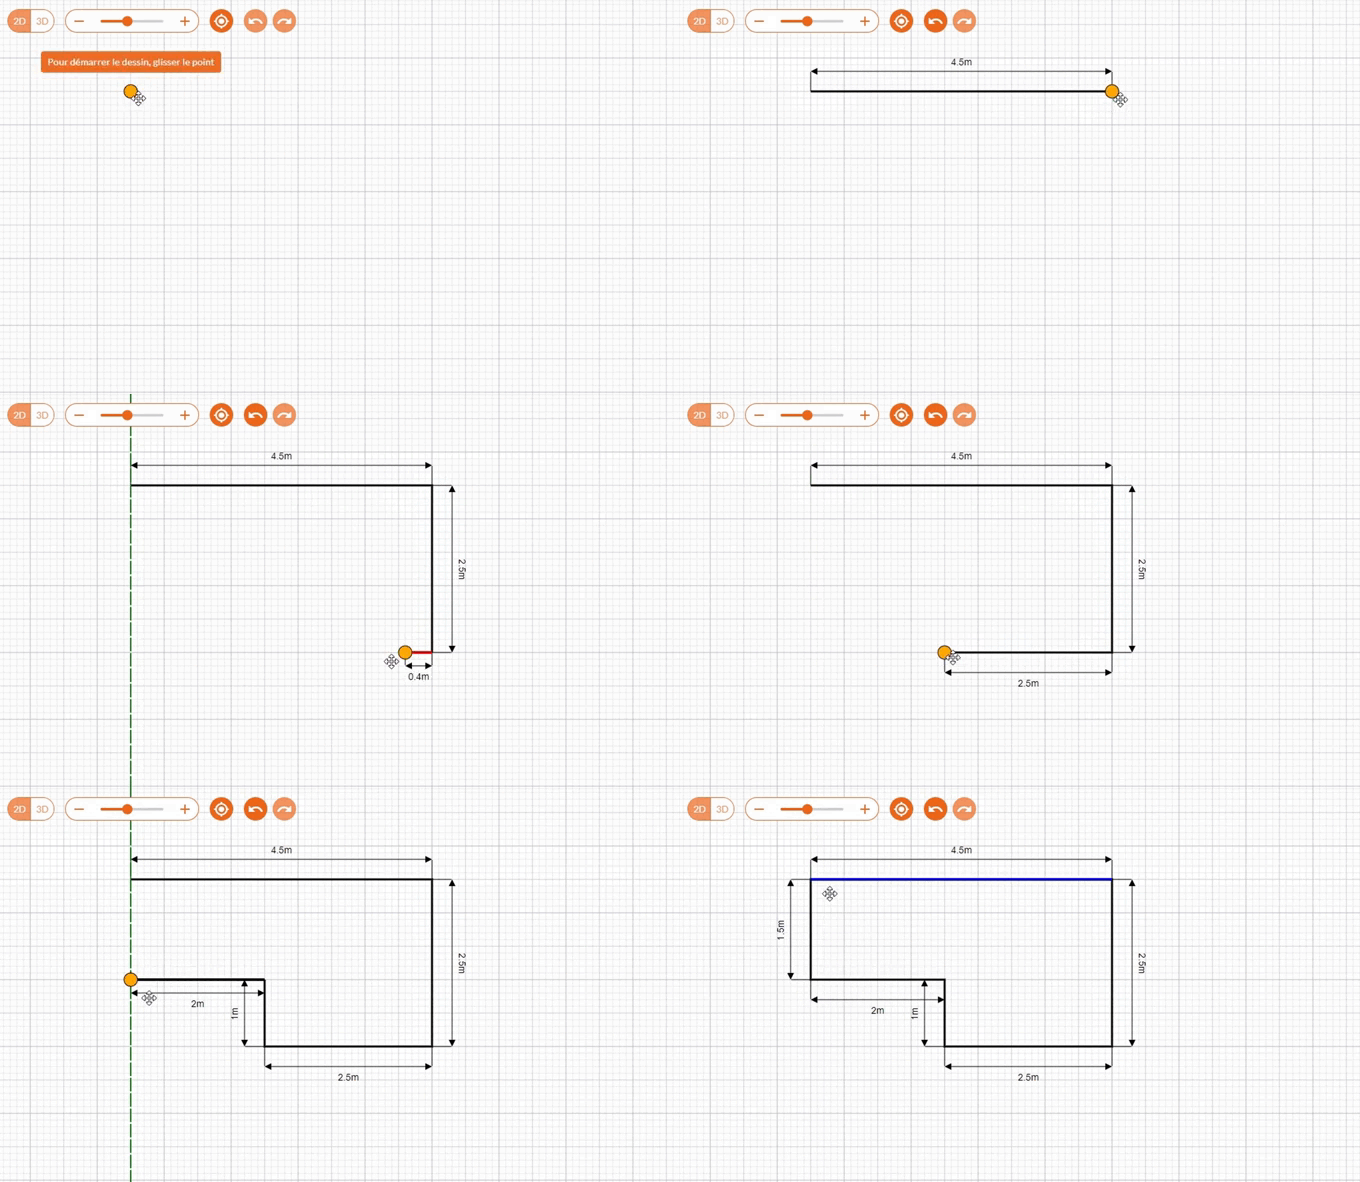
PREDEFINED SHAPES
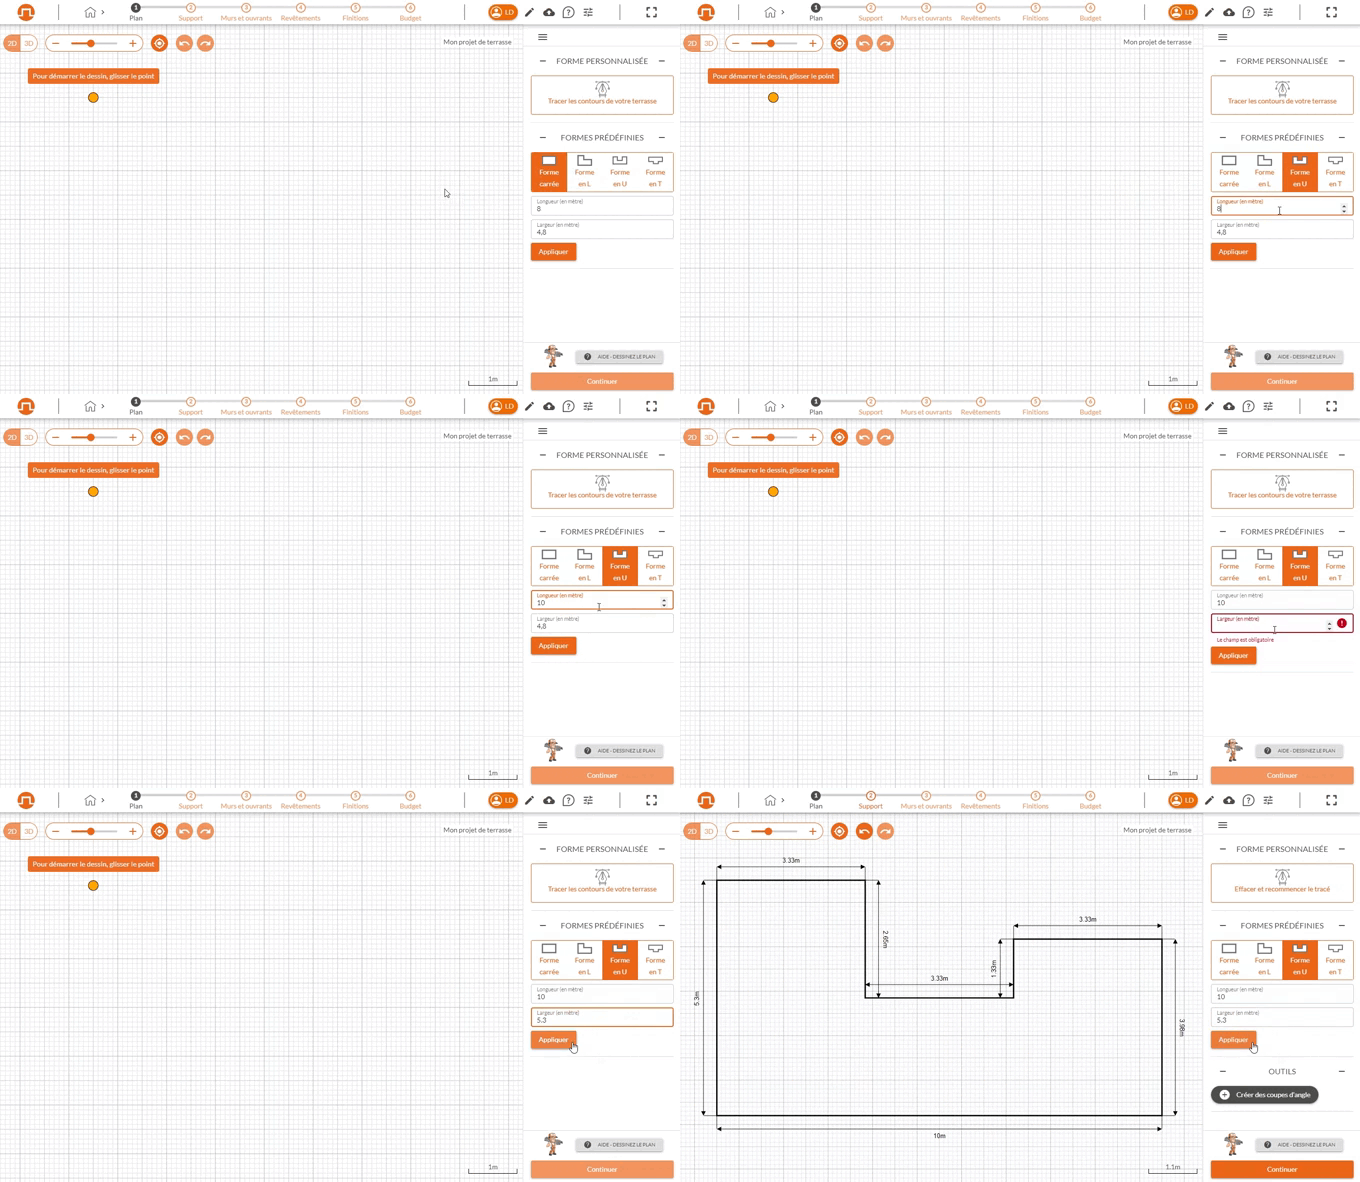
In order to facilitate the creation of your terrace, you can select a predefined shape and modify its dimensions to match your project.
MODIFY DIMENSIONS
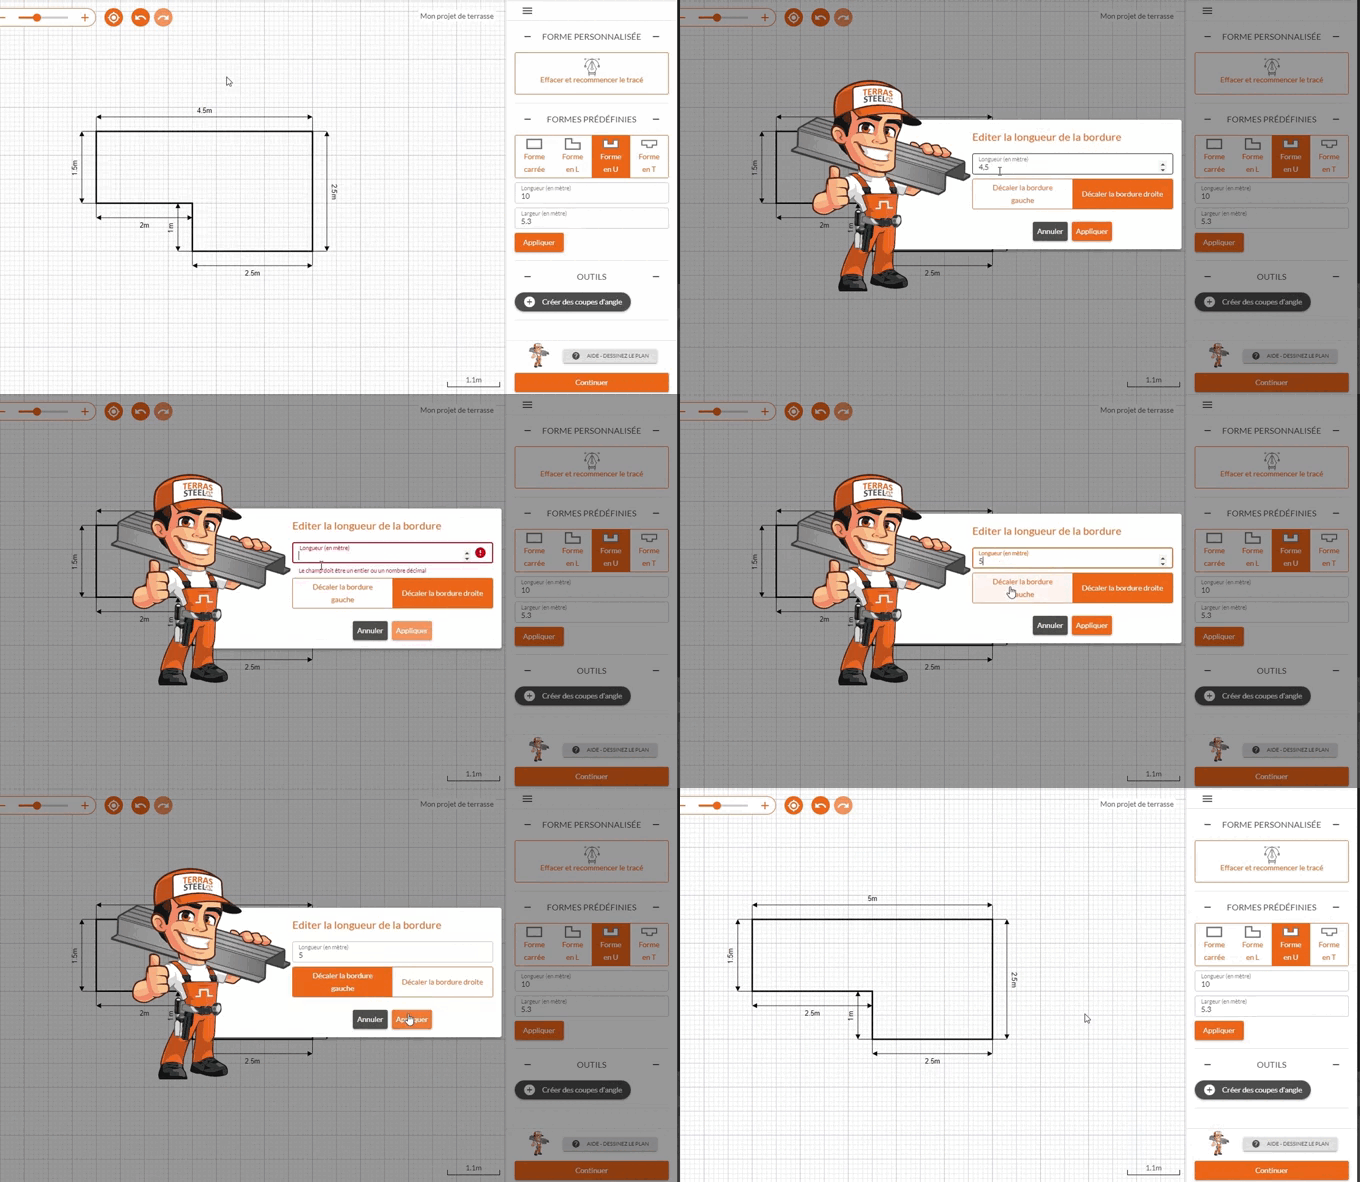
You can modify the dimensions by clicking on a dimension directly on the plan, a dialog box will open, you will only have to enter the new dimension.
CUT AT 45°
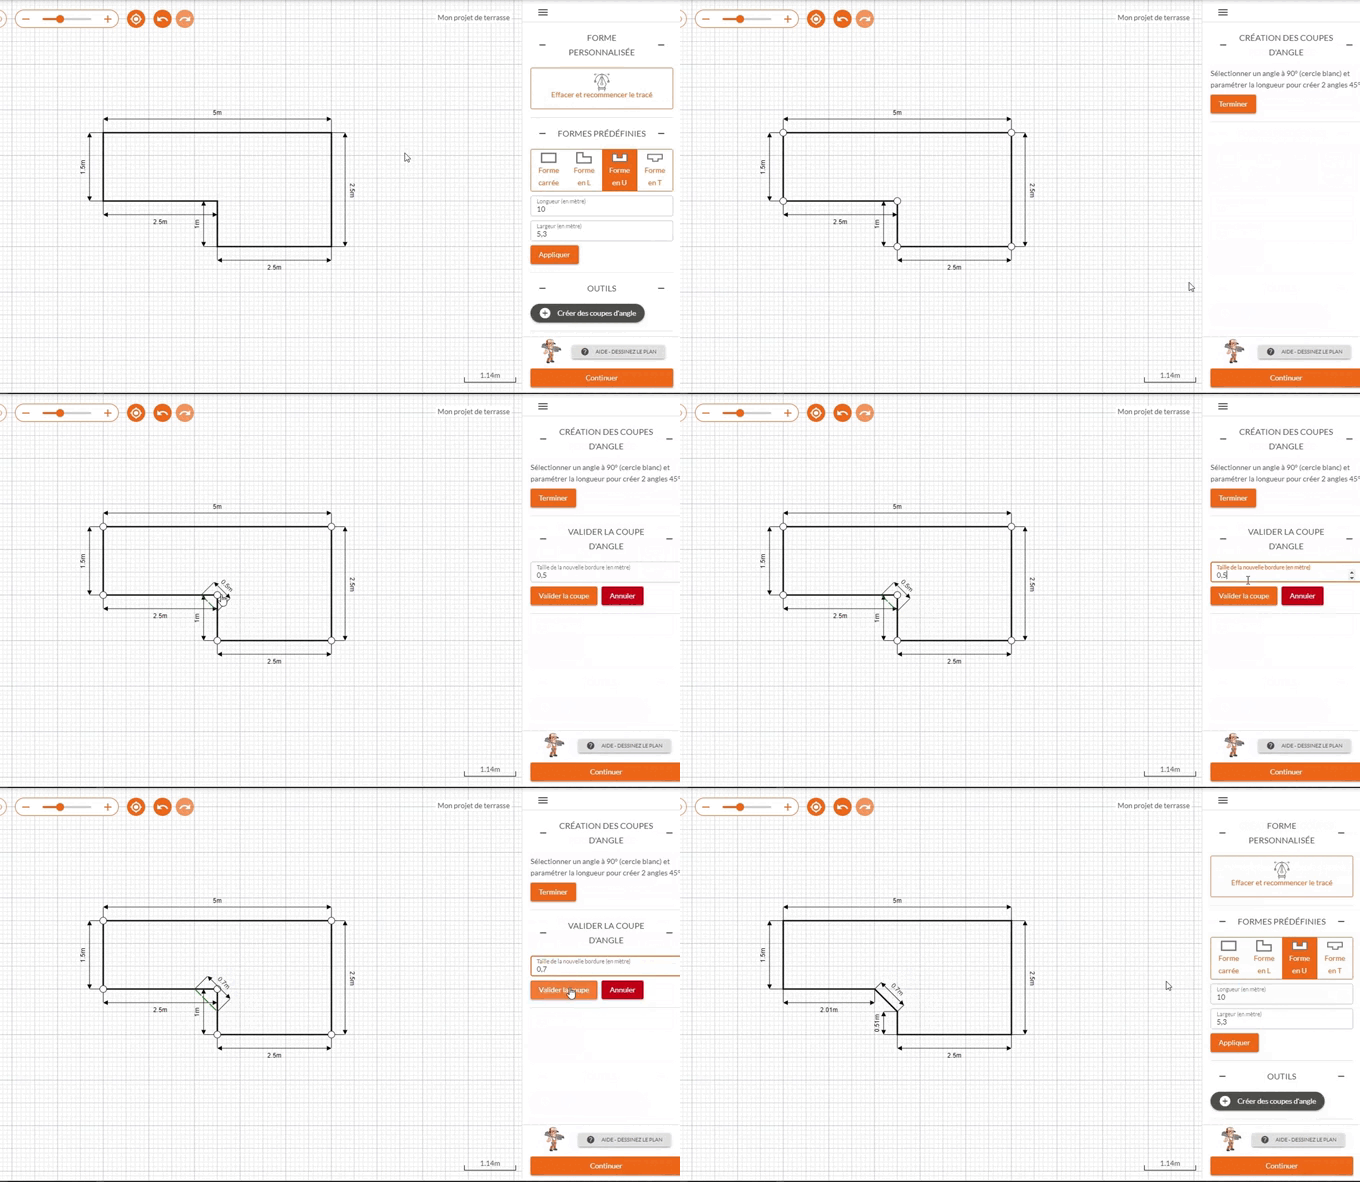
Once the plan of the terrace has been drawn, you can create 45° angle cuts, to do this click on the “Create angle cuts” button in the “TOOLS” section of the menu, then click on the angle to be cut, enter the size of the new border in the menu, and validate the cut.

TYPE OF SOIL AND HEIGHT OF THE STRUCTURE

SOIL TYPE
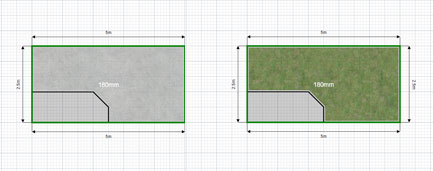
When the concrete slab measures more than 5.5 cm, you can directly fix the joists for a wooden decking.
It is preferable to lay them in the direction of the slope to avoid problems with the flow of rainwater. If you want to lay the boards perpendicular to the facade, it is important to provide a slope using wedges to evacuate the water correctly.
For fixing the joists to a concrete slab, we recommend that you use knock-in anchors, except in the case of waterproofing.
For bare ground, the pedestals to use depend on the nature of the ground and the final height of the terrace.
For stable floors from 120mm to 350mm, PVC pedestals are ideal, while for floors of 350mm or more, concrete pedestals are mandatory.
If the height of the terrace is greater than 350 mm, you will have to make the concrete pads yourself.
TO DETERMINE THE ALTIMETRY
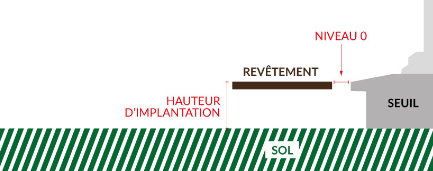
Measure the distance between the 0 of your doorstep and the ground.
The ideal preparation height is 180mm.

WALLS, DOORS AND WINDOWS

ADD A WALL
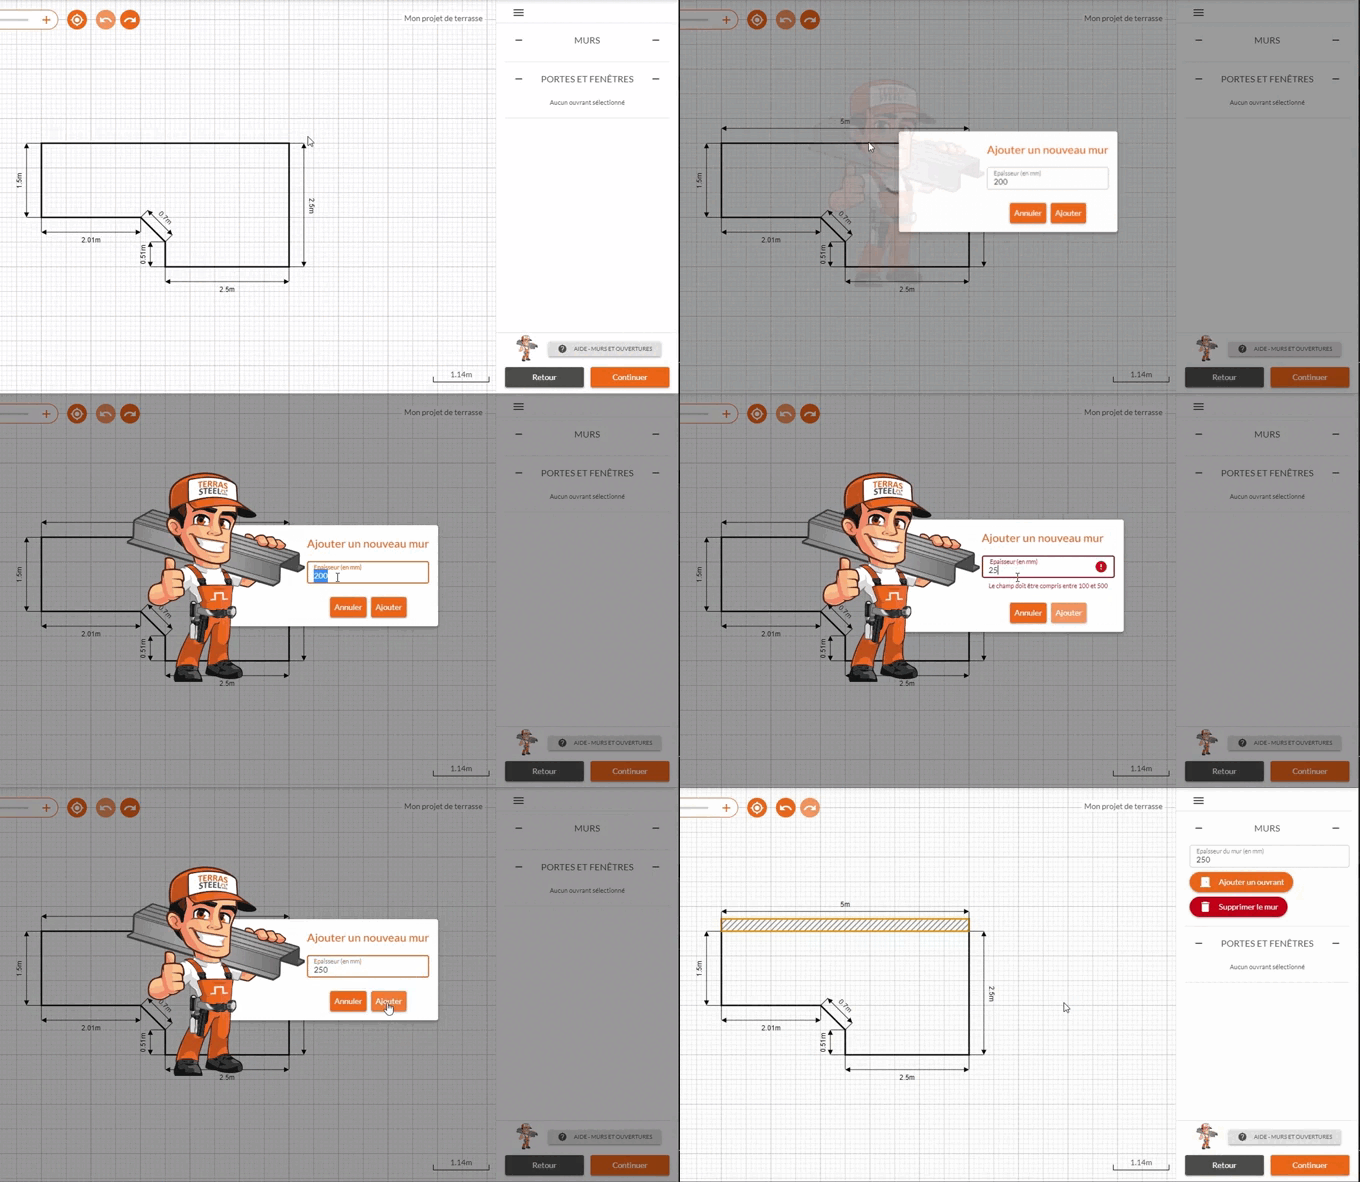
To be able to add the openings on your plan, you must start by adding the walls, to do this click on the plot of the terrace where you want to place your wall, a dialog box opens, you just have to enter the thickness of your wall (in mm)
ADD AN OPENING
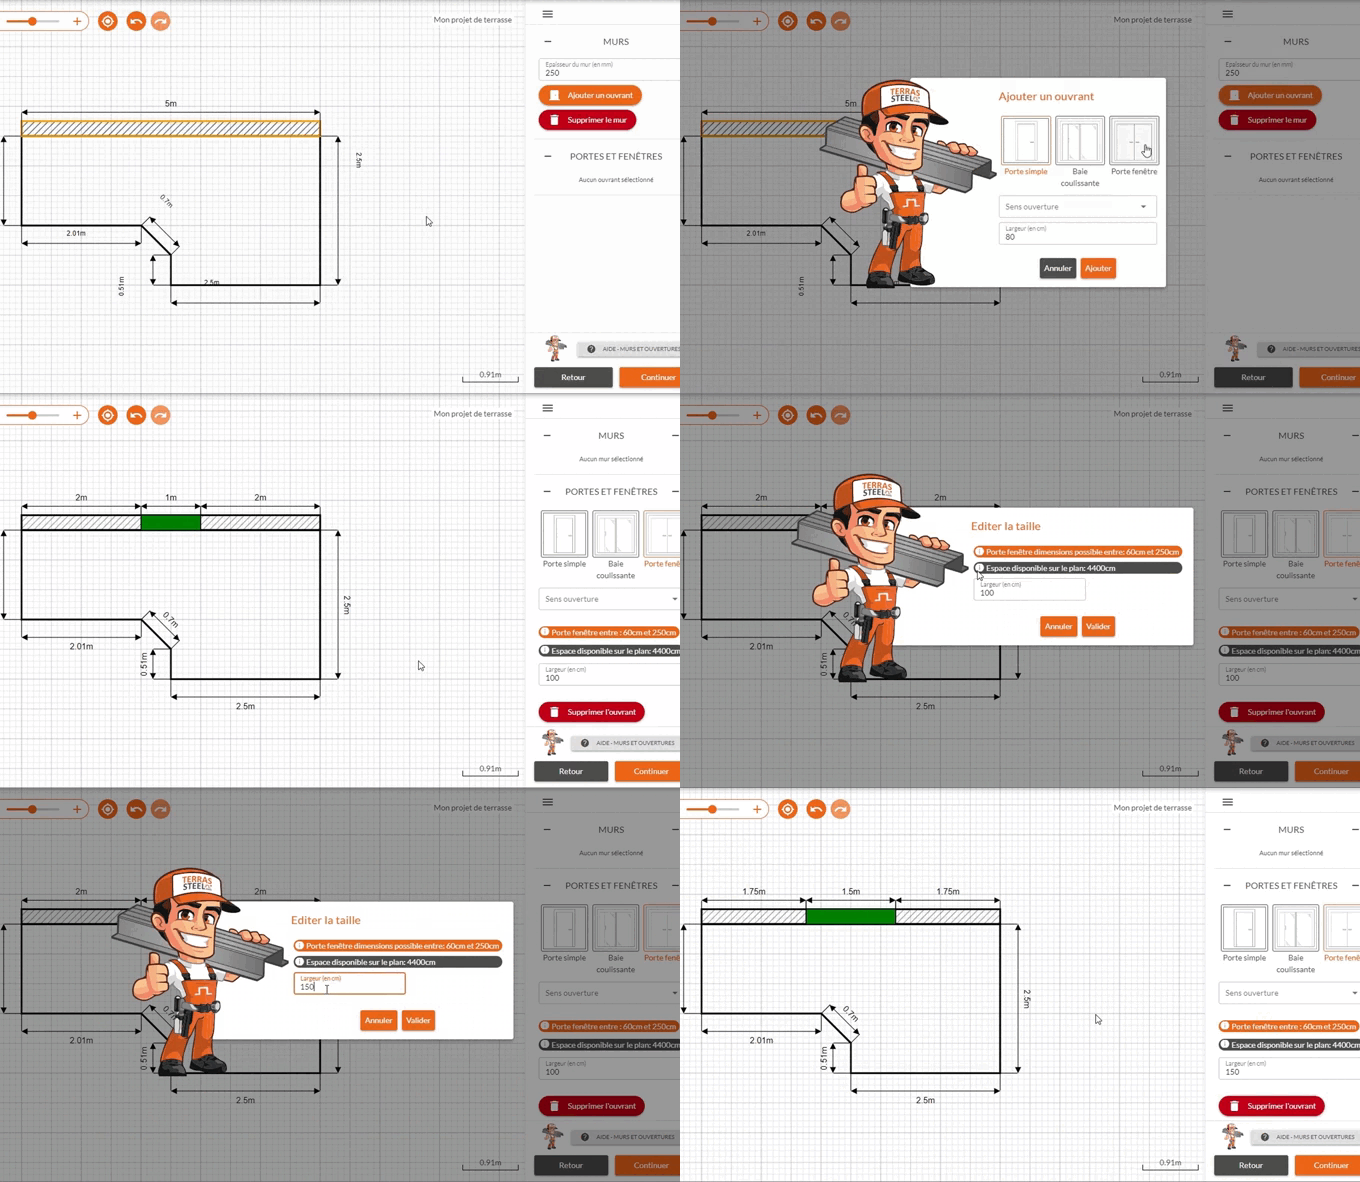
Once the wall has been created, click on the “Add an opening” button, a dialog box opens, choose the type of opening (Door, Sliding bay, French window), select the opening direction, and enter its width (in cm)
You can modify the dimensions of your openings, after clicking on the opening of your choice, its characteristics are displayed in the contextual menu to the right of the page and can be modified.
MOVE AN OPENING
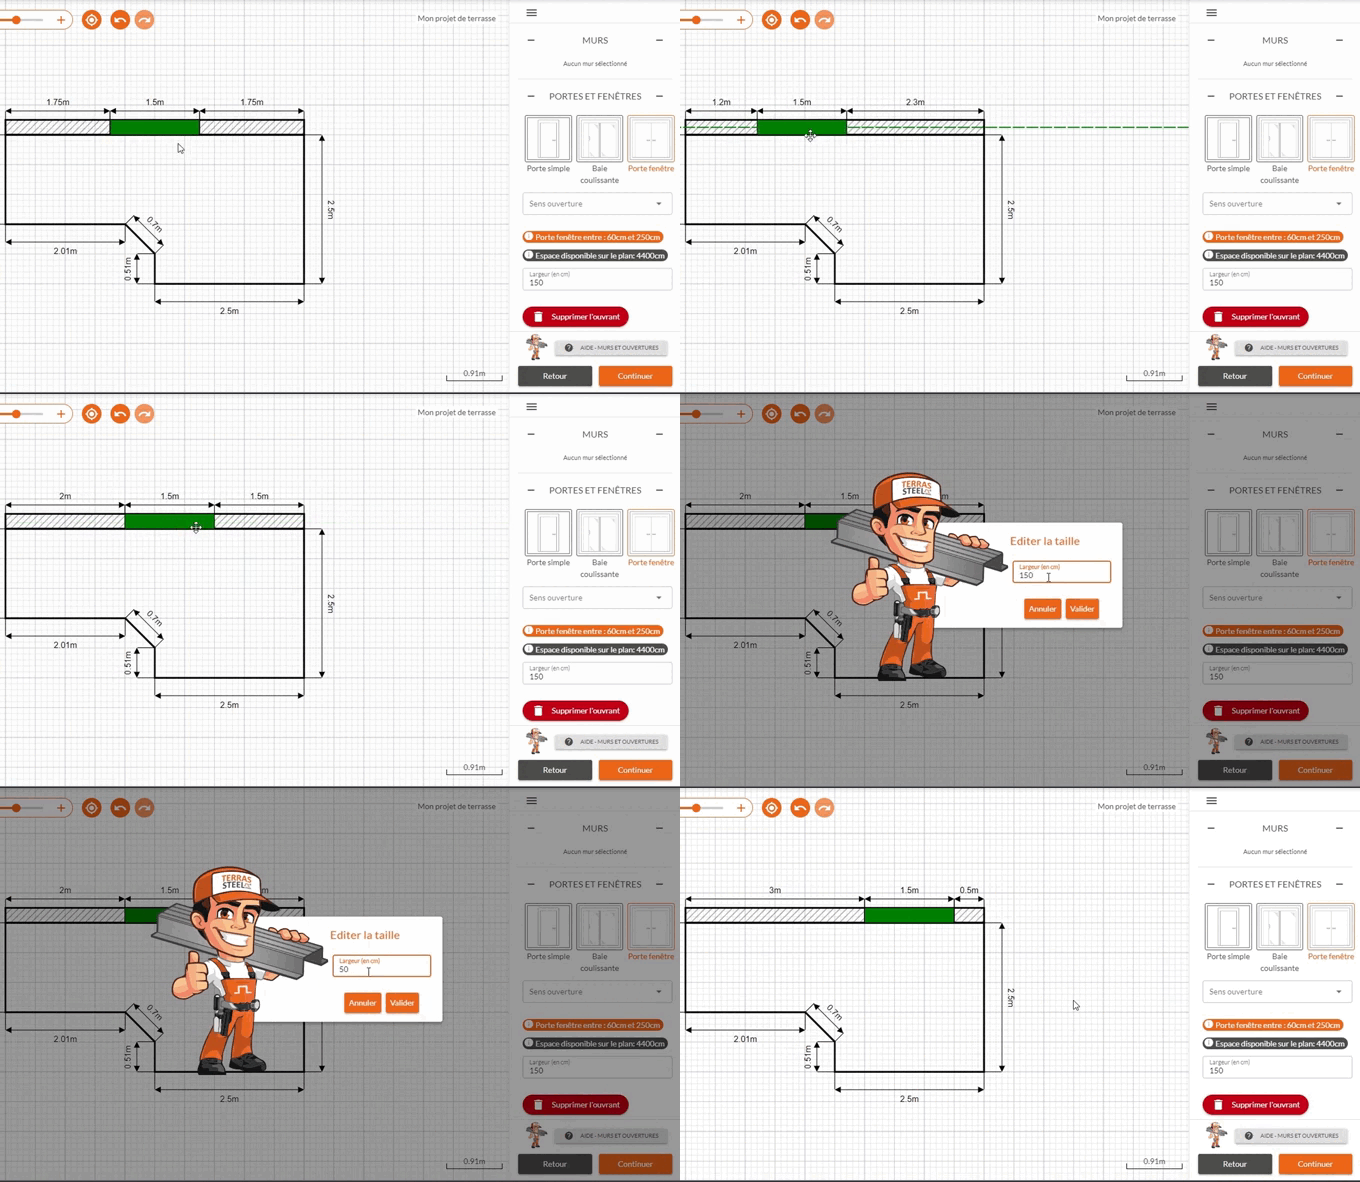
To move a sash on the plan, simply position the mouse over it and “click and drag” to position it in the desired location, or modify a dimension between the sash and a corner

COATING CHOICE
All our wood has undergone KD (Kiln-Dried) drying : Kiln-dried, this process allows the wood to be dried “throughout” and to approach normal conditions of use, which guarantees you an optimal installation with a humidity level varying from 16 to 18%.

WOOD SPECIES

Pine
Its appearance and rendering with its visible knots gives it a warm and natural side. Economic solution.
Itauba
Its original yellow color can vary towards a beige or even dark brown appearance sometimes on the same blade. Resists puncturing, stable gasoline.
Excellent value
CERAMIC

We offer you different sizes of slabs as well as different aspects, click on the information button next to the choice of the slab to have more information on it (Resistance, Maintenance, Durability and manufacture)
COMPOSITE BLADE

You have the possibility of designing your terrace with composite boards, for that enter the dimensions of your boards and the calculator takes care of the rest!
(You will need to log in to be able to enter a custom coating)
SPECIAL BLADE
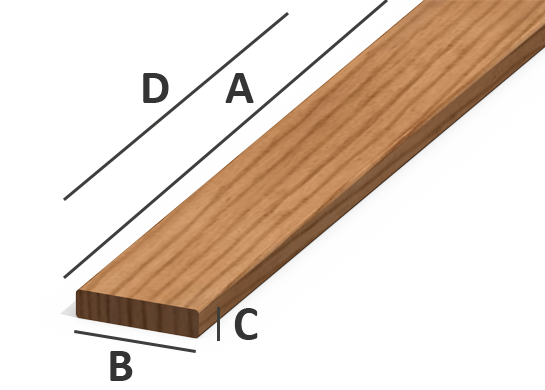
If you already have your own covering, please indicate the dimensions and characteristics requested in the calculator.
(You will need to log in to be able to enter a custom coating)
LOSSES AND DIRECTION OF INSTALLATION
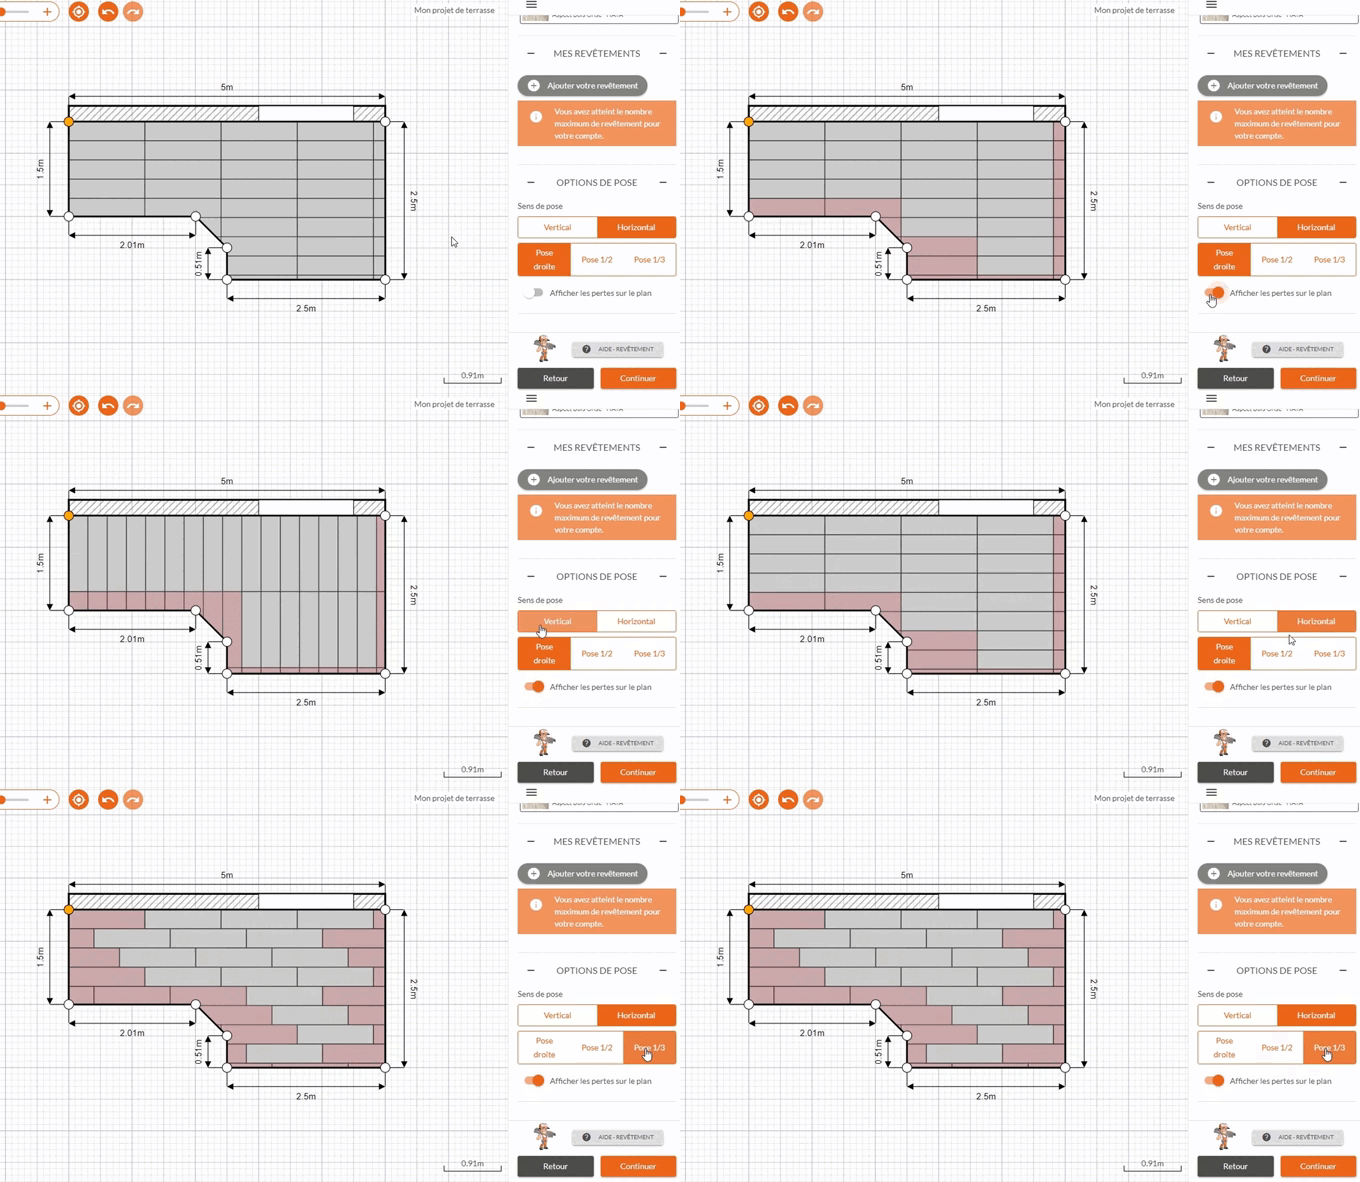
Type of laying
Straight laying : all the tiles are perfectly aligned.
Laying 1/2 : Each row of slabs is offset by half a slab.
Laying 1/3 : each row of slabs is offset by one third of a slab.
Show Losses
Activating this option allows you to see the planks or tiles requiring a cut (and therefore a loss).
Tips : to limit these losses you can try different points of origin.
SENSE OF CALCULATION
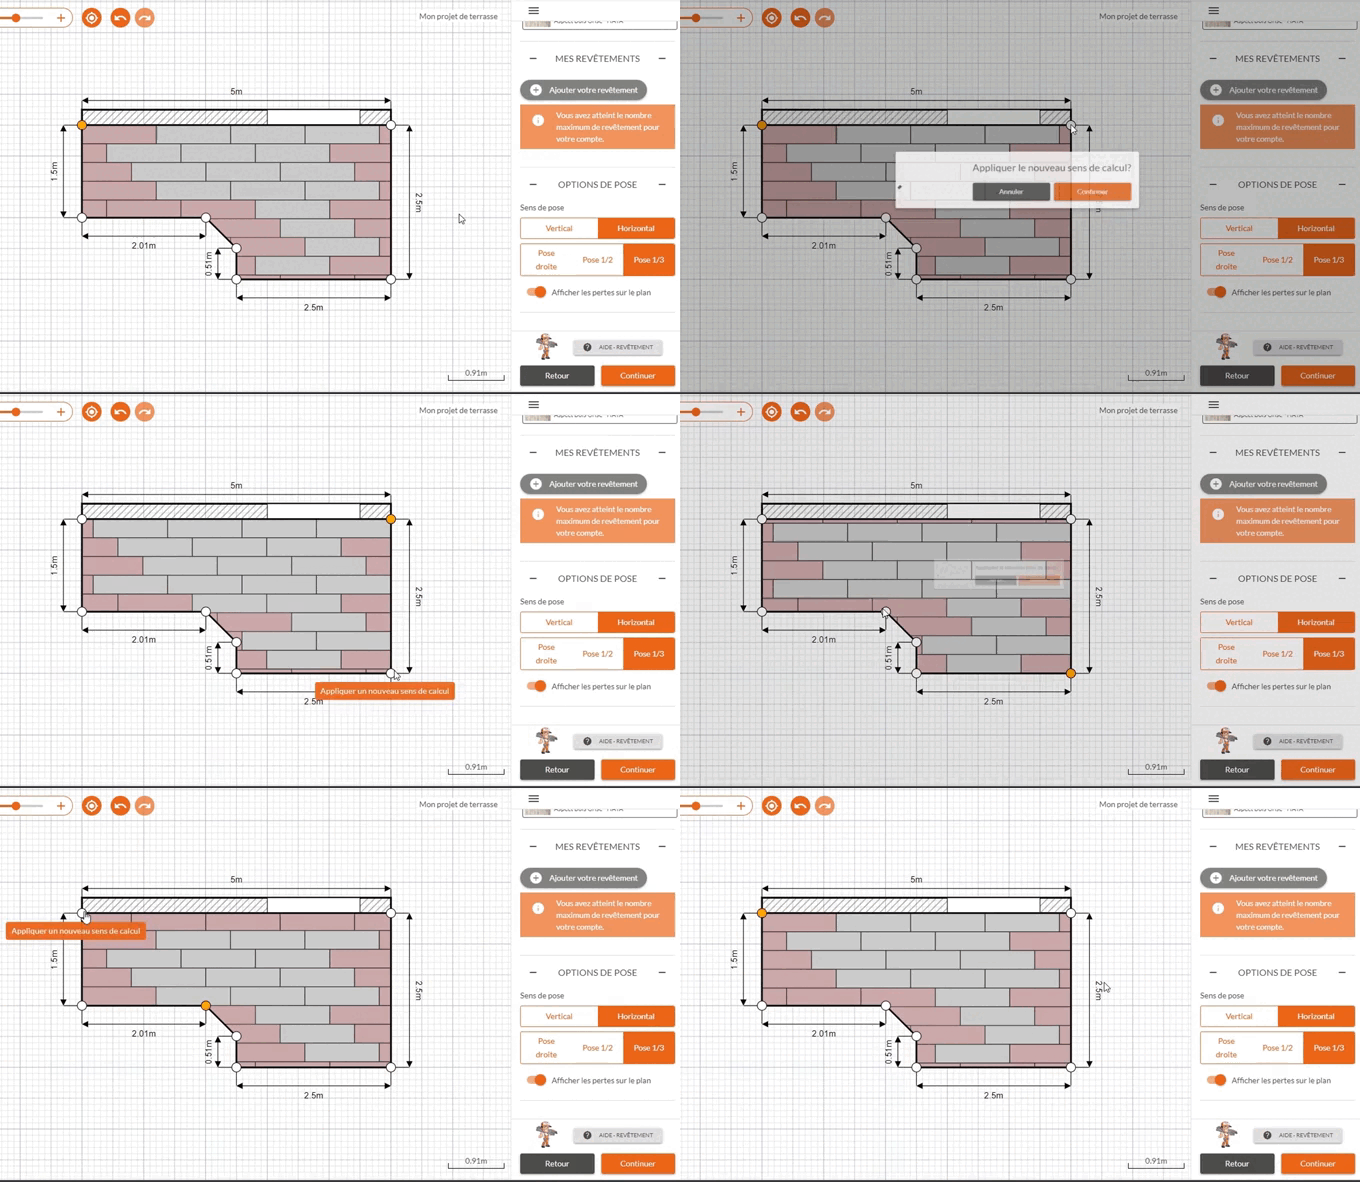
By clicking on one of the corners of your plan (white circle) the calculator will start laying your decking at this location
Tips : to limit losses you can try different points of origin.

FINISH

TYPE OF ATTACHMENT
Wall flange
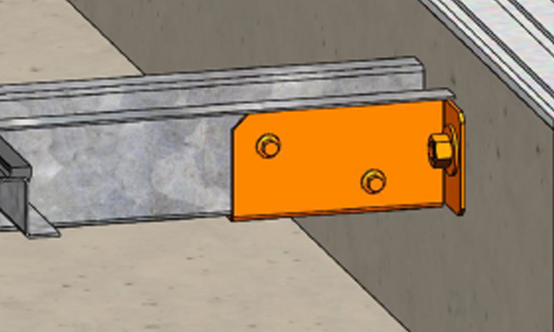
The wall shoe is fixed in a rigid support, concrete wall, hollow block, etc. The fixing will be adapted to the support (mechanical stud, chemical fixing). The omega 65 profile will come inside the shoe and is fixed using the self-drilling screws
Wall angle
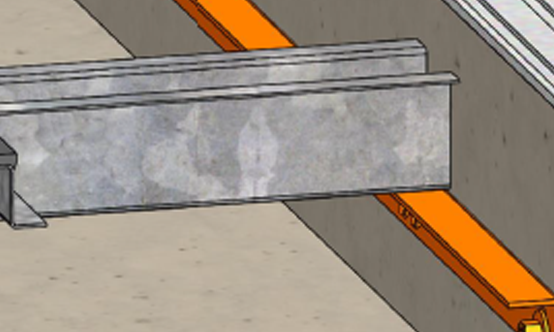
Galvanized steel wall angle, wall fixing in the pre-drilled holes spaced every 50 cm, 12 mm oblong to facilitate positioning adjustment. Fixing by chemical sealing.
Type of finish
Wood
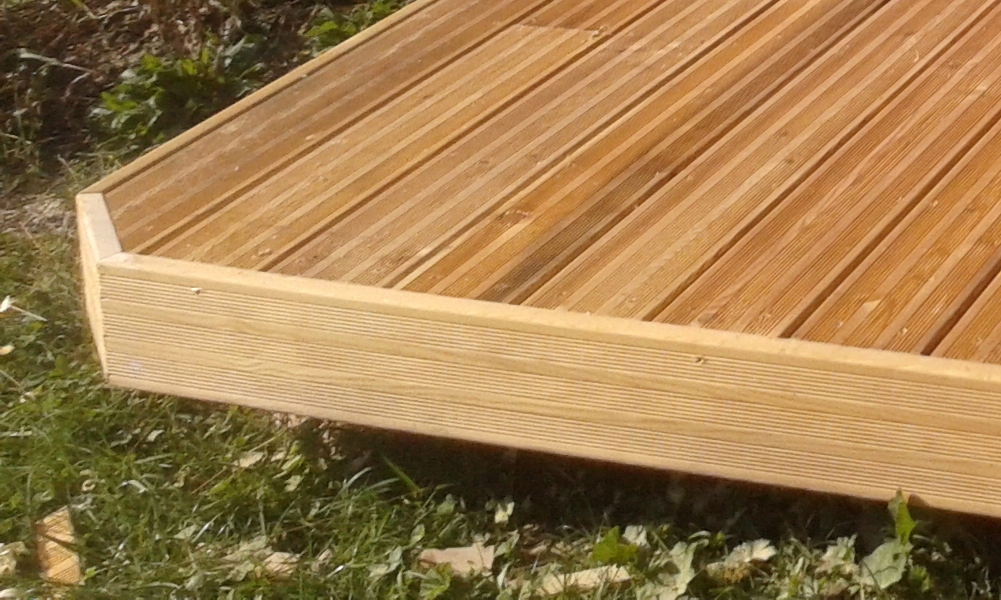
One (or more) peripheral blade(s) to cover the edge of your terrace.
Composite
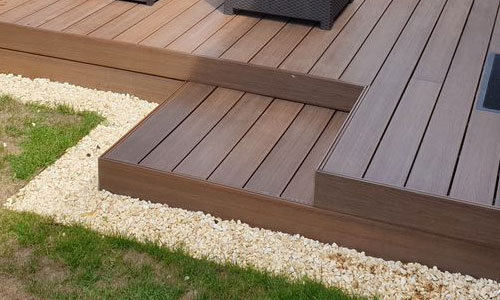
Galvanized steel wall angle, wall fixing in the pre-drilled holes spaced every 50 cm, 12 mm oblong to facilitate positioning adjustment. Fixing by chemical sealing.
Ceramic

High and low finish : this finish allows a ceramic slab to be suspended between the two profiles in order to obtain a ceramic finish (finish height from 85 mm to 600 mm maximum).
ALF180 finish : Aluminum finish, 180 mm finish height.
YOUR ESTIMATE


SUMMARY OF YOUR SIMULATION
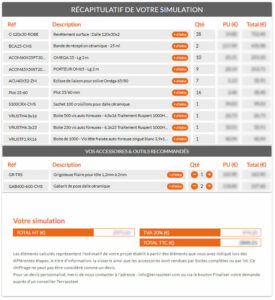
This part lists the necessary items for the development of your project, taking into account the elements that you have indicated during the different stages.
For information, screws and accessories are sold by box or by lot.
This costing cannot be considered as an estimate.
OPTIONS/ACCESSORIES & RECOMMENDED TOOLS
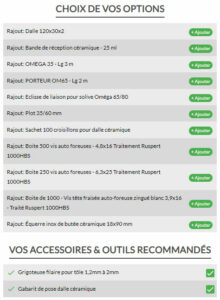
Allows the addition of one or more recommended accessories or tools but which are not included by default in the calculation of your project.
YOUR PROJECT :
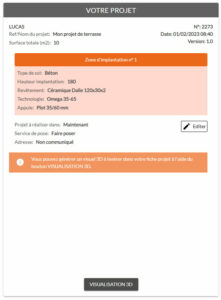
Allows you to see the summary of your project and modify it, you can also access the 3D view of your terrace.
FINALIZE YOUR REQUEST:

Allows you to be put in touch with a Terrassteel adviser to finalize your request and adjust your project as closely as possible to all your constraints and needs.
TIP AND HELP
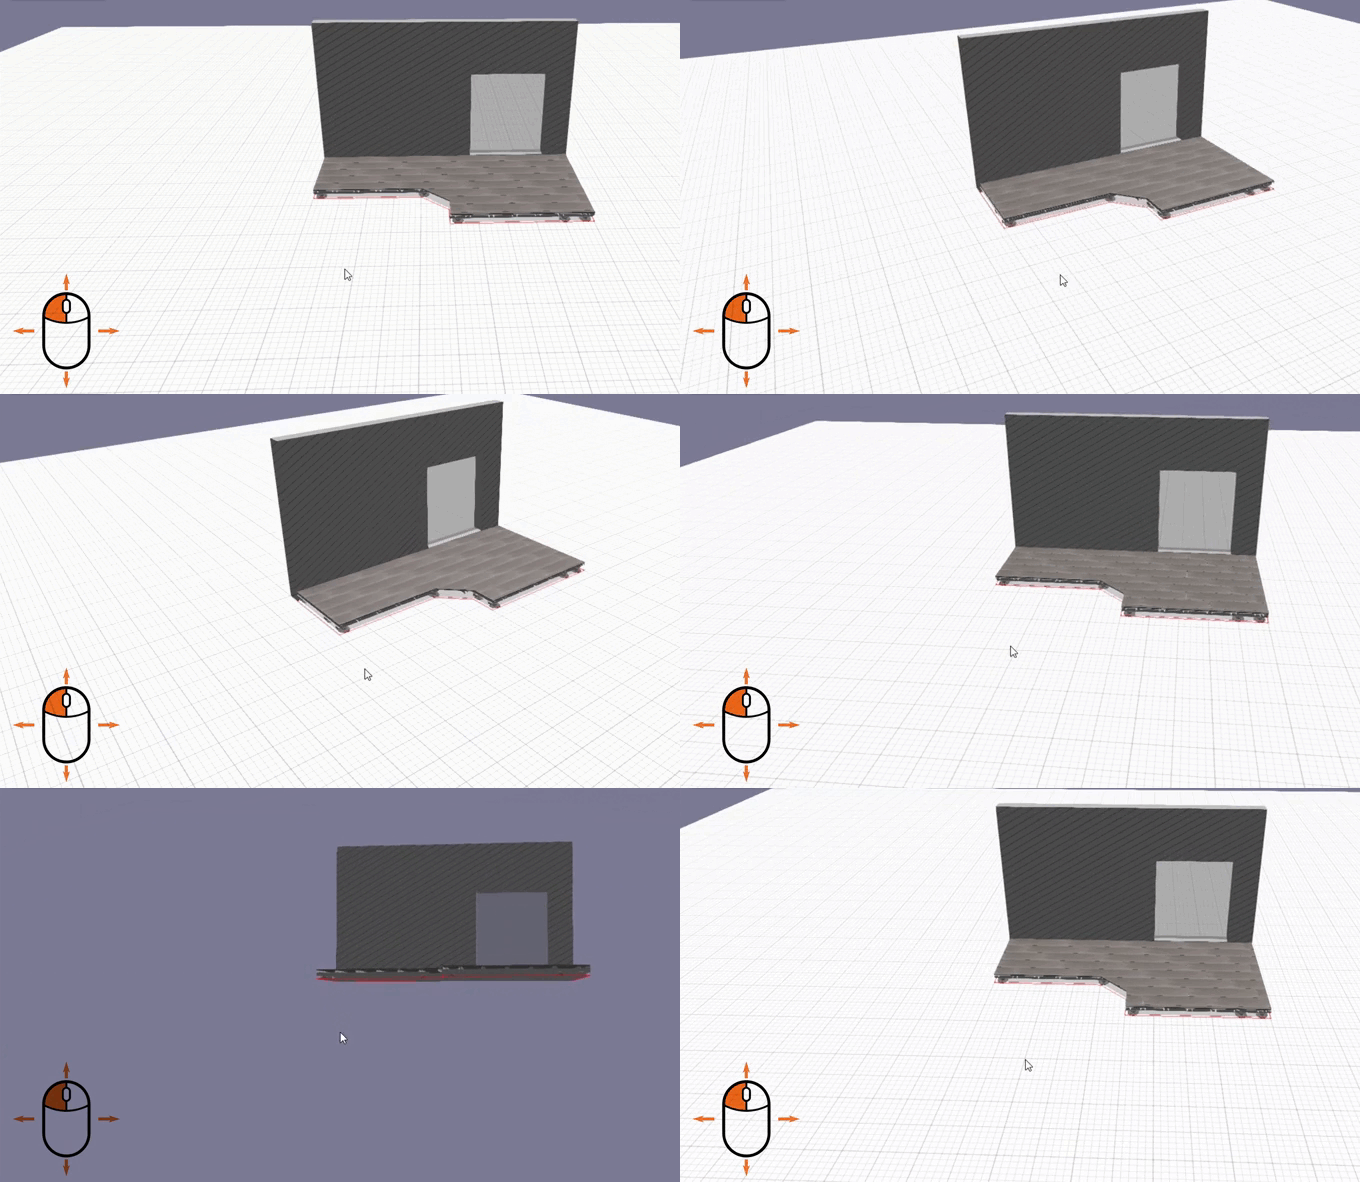
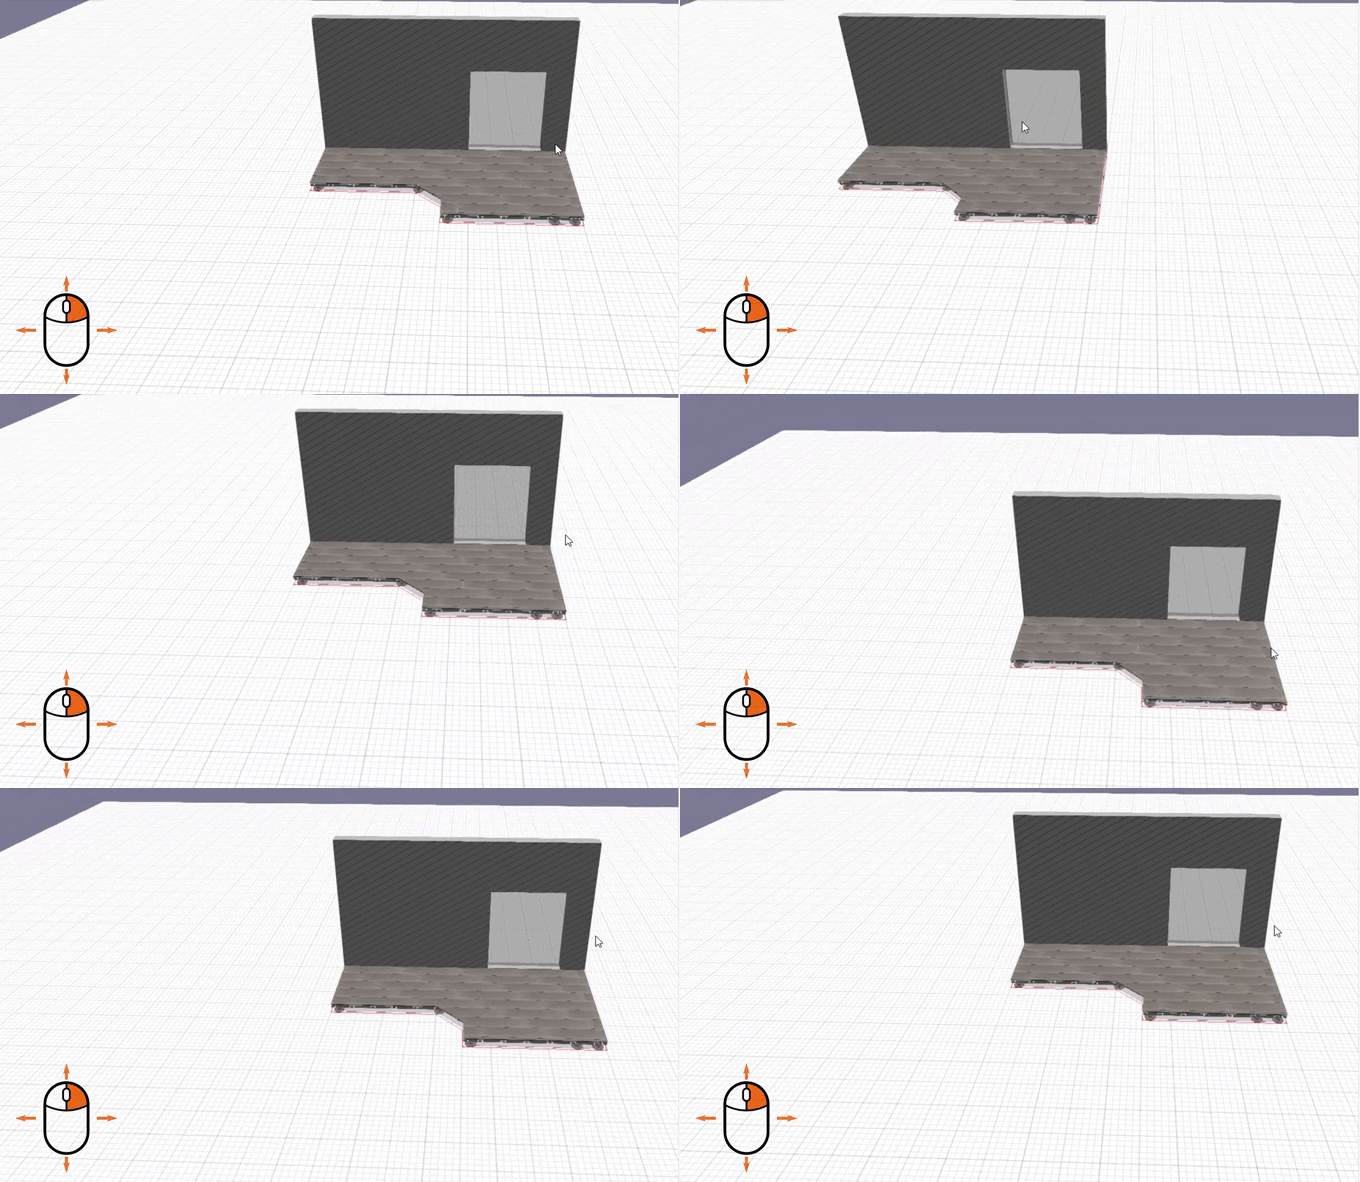
3D space manipulation
All manipulation is done with the mouse:
Left click : rotate the camera
Right click : allows you to move the camera in 3D space
Wheel : allows you to zoom in or out
Display filters : allows you to display or hide project elements (example: coating and finishes)
Installation advice
TYPES OF PEDALS
Depending on the height you need to make up, we offer a range of adjustable PVC pedestals (many sizes available).
it’s important to use geotextile wrap install it directly on the ground It avoid regrowth of weed and also for drain the ground on wich it rests
Beyond a certain dimension, concrete blocks will have to be made by you (about 23 cm outside the structure).
WINDOW SILL
The height to be entered is the difference between the ground and the height you wish to make up, namely a door threshold or bay window.
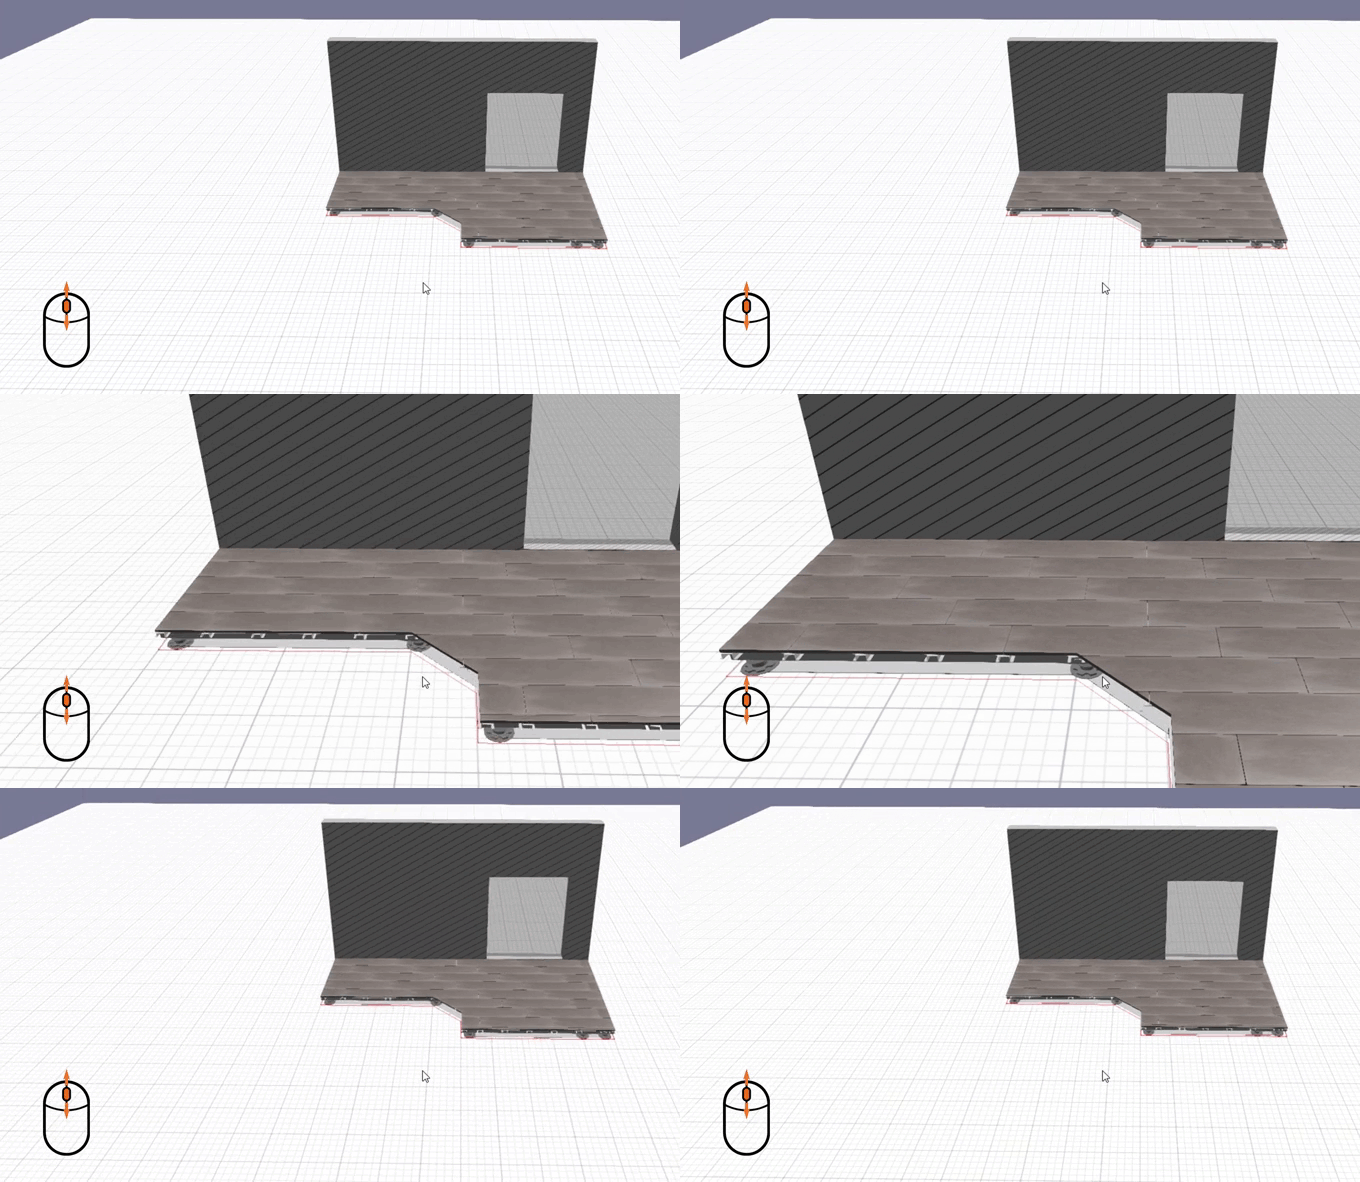
Tip : from an aesthetic and practical point of view, we advise you to opt for the laying of the boards in the direction of the width (picture below).
In this case, you will have fewer pedestals to provide and you will be able to attach the structure to the facade using an angle iron or wall shoes. This will also allow you to avoid having an incomplete plank on one side or the other of your terrace.
CERTIFIED INSTALLERS SERVICE
Our installers have been chosen from a qualitative selection of professionals specialized in landscaping.
More than a partnership, we share the same philosophy based on professionalism and trust in relations with our customers.
All our installers are trained in the use and implementation of our system in order to accompany you and advise you as best as possible in your choices, both aesthetic and technical.
Entrusting your project to our installers is the guarantee of a successful terrace with complete peace of mind
Register / login
The creation of your account allows you to access the budget stage (summary of your simulation, finalize your request, 3d view of the complete terrace)
This also allows you to save your project for later access or on other devices. Logging in also lets you unlock features like adding your custom skin.
Interface

Progress of the project : allows you to follow the stages of your project, and to return to previous stages by clicking on them


